01274 532 100


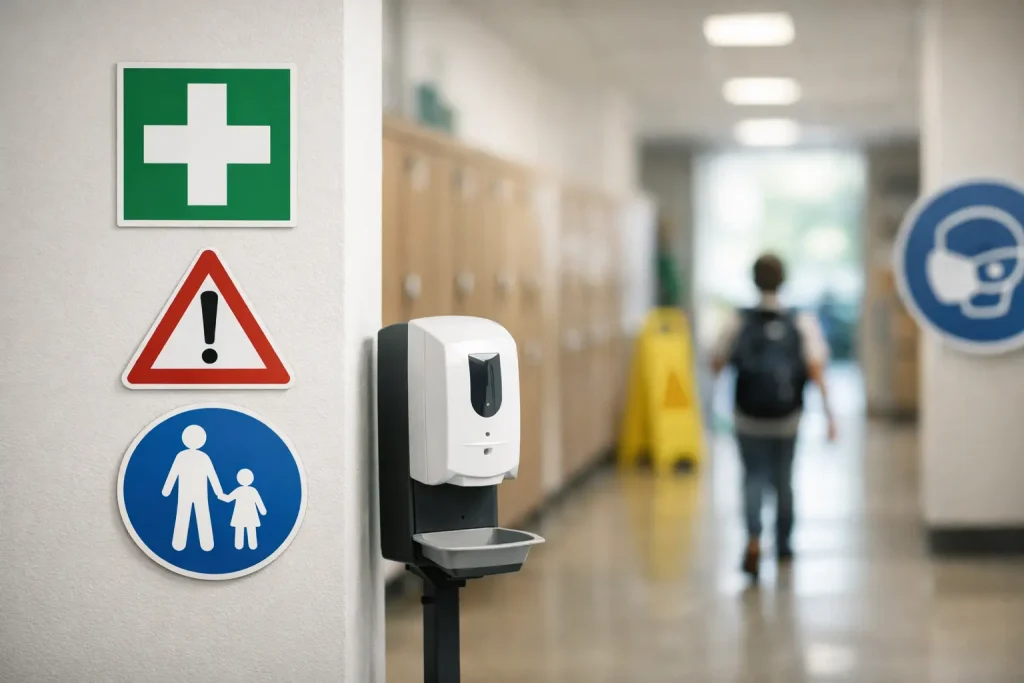
The busiest ten minutes of the school day can expose every weak point on site: cars stopping on zig-zags, pedestrians crossing between vehicles, visitors unsure where to report and pupils taking shortcuts through restricted areas. A school health and safety signage guide should therefore begin with the real journeys people make, rather than with a catalogue of signs. The right message, in the right place, helps staff act consistently and gives pupils, families and visitors clear direction before a problem develops.
For schools, colleges, nurseries and academies, signage is not simply a compliance exercise. It is a practical part of site management. It supports safeguarding, reduces avoidable questions at reception, reinforces safe behaviour and makes the environment feel well organised and welcoming.
Start with a site walk, not a shopping list
Walk the site at arrival, dismissal and during a normal lesson changeover. Use the routes taken by a parent with a buggy, a new visitor, a lorry driver and a pupil moving between buildings. What is obvious to staff who know the site may be unclear to everyone else.
Look particularly at the boundary between public and controlled areas. Can visitors immediately identify the main entrance and reception? Are vehicle routes separated from pedestrian routes? Do drivers know where they may park, wait and turn? Are temporary hazards, such as contractor work or icy paths, communicated promptly?
Record each issue by location, audience and required action. For example, a sign at the gate may need to ask drivers to switch off engines; a sign beside a fire door may need to prohibit obstruction; a sign at reception may need to instruct all visitors to sign in and wear identification. This approach prevents duplicated messages and makes purchasing more straightforward.
School health and safety signage by risk area
A well-planned scheme combines permanent signs for predictable risks with temporary signs for changing conditions. Permanent signs should be durable, easy to read and suited to their location. Temporary products, such as pavement signs and freestanding notices, are useful where the message must move with the risk, but they need to be collected in and stored safely after use.
Arrival, parking and traffic management
The school gate is often the highest-risk location because pedestrians, bicycles, cars and occasionally larger delivery lorries are using limited space at the same time. Clear parking control and road safety signs can set expectations before vehicles reach the entrance. Messages such as no stopping, keep clear, staff parking only, disabled parking and one-way systems work best when they are positioned early enough for drivers to respond safely.
Schools should also consider the tone of their message. A direct reminder such as “Protect our children, turn off your engine” can be more effective than a generic prohibition, particularly where idling is a recurring concern. Pavement buddies and entrance banners can reinforce the message at peak times, provided they do not narrow footways, obstruct visibility or create a trip hazard.
Do not rely on signs alone where the physical layout creates conflict. If a drop-off area is too tight or the pedestrian route crosses a reversing zone, signage should support wider measures such as barriers, marked crossings, timed access or staff supervision.
Visitors, safeguarding and access control
Every visitor should know where to go without having to follow pupils around the site. A prominent main entrance sign, directional wayfinding and a clear reception instruction reduce the risk of unauthorised people entering through the wrong door.
At the reception point, use concise safeguarding messages that support your visitor procedures. These may cover signing in, displaying a visitor badge, not using mobile phones in sensitive areas, and reporting safeguarding concerns. Signs should never replace staff judgement or safeguarding training, but they make the expected process visible and consistent.
Restricted access signs are equally valuable beyond reception. Plant rooms, maintenance stores, staff-only corridors, roof access points and secure gates should be marked clearly. Where access conditions change, such as during holiday works, use temporary notices that explain the route diversion and identify any prohibited area.
Fire, emergency and statutory messages
Fire safety signs, emergency escape route signs and assembly point signs need to be visible when people are under pressure. Their position matters as much as their wording. A sign hidden behind an open door, a display board or seasonal decorations may not be seen when it is needed.
Keep these messages separate from general notices. A crowded noticeboard can make an emergency instruction disappear. Site teams should check that escape routes remain clear, signs are not damaged or faded, and assembly-point information reflects the current evacuation plan.
Health and safety signs also have to communicate hazards in workshops, science rooms, kitchens, sports facilities, caretaking areas and construction zones. The precise sign required depends on the activity and risk assessment. Use recognised safety symbols where appropriate, but pair them with plain wording where pupils, visitors or contractors may not understand the context.
Slips, trips, hygiene and everyday hazards
Many school accidents arise from ordinary conditions: a wet entrance floor, a freshly mopped corridor, an uneven path or equipment left in a circulation area. Temporary warning signs are useful only when they are deployed quickly and removed once the danger has passed. Leaving a wet-floor sign in place all day weakens its meaning.
For longer-term issues, fix the cause rather than repeatedly warning about it. An entrance that becomes slippery in wet weather may need better matting, drainage or a revised cleaning routine. A durable caution sign may still be appropriate, but it should not become a substitute for maintenance.
Hygiene signage has a role in toilets, dining areas, changing rooms and first-aid points. Keep it age-appropriate. Primary pupils may respond better to simple language and visual prompts, while older students need clear, respectful instructions that do not feel patronising.
Make signs visible without making the site noisy
A school can quickly become visually cluttered. Too many competing notices mean that people stop reading all of them, including the ones that matter. Prioritise the action required and use a consistent visual hierarchy: urgent safety instructions first, directional information next, then supporting reminders.
Choose a size that matches the viewing distance. A sign intended for a driver approaching a gate needs larger text and fewer words than one read at close range outside a classroom. Consider contrast, lighting, weather exposure and whether the sign will be viewed by children, wheelchair users or people who do not know the site.
Child-friendly presentation can sit comfortably alongside authority. Colour and school branding can help wayfinding signs feel part of the environment, while mandatory and warning messages should remain immediately recognisable. The aim is not to turn every sign into a poster; it is to make correct behaviour easy to understand.
Assign ownership and keep the scheme current
Signage needs an owner. In many settings, the site manager leads the inspection programme, while the school business manager, health and safety lead, safeguarding lead and reception team each contribute to specific areas. In a trust, a common signage standard can make expectations consistent across several schools while still allowing for local layouts and identities.
Review signs after any significant change: building works, a revised traffic plan, a new reception arrangement, an incident, or a change to evacuation procedures. Include them in routine premises checks. Inspect for fading, cracked fixings, outdated names, blocked sightlines and instructions that no longer match practice.
It is also worth asking the people who use the site every day. Reception staff know where visitors get lost. Lunchtime supervisors see where pupils ignore boundaries. Caretakers notice which signs fail in bad weather. Their feedback turns a one-off signage project into a working safety system.
Build a practical, phased plan
Where budgets are limited, deal first with locations where people could be harmed or where access is poorly controlled: vehicle entrances, emergency routes, reception, restricted areas and active maintenance hazards. Then improve wayfinding, branding and secondary reminders in later phases.
A specialist education signage supplier can help translate a site walk into a coordinated set of products, from durable road and parking signs to safeguarding notices, health and safety signs, pavement buddies and custom entrance signage. The benefit is not simply matching designs. It is making sure the messages work together across a busy school environment.
The best test is simple: when an unfamiliar person arrives at your site, can they understand where to go, what to do and where not to go without creating risk for themselves or anyone else? If the answer is yes, your signage is doing useful work before a member of staff has needed to step in.